A climbing wall in the nursery
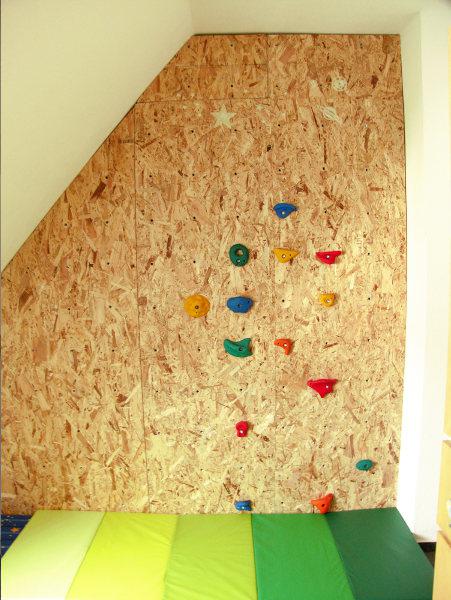
Some have already noticed it on Facebook or Instgram: We have built a small climbing wall with bouldering in the nursery. Maybe you're wondering now, why a climbing wall? Well, we had several reasons. It was important to us to create a safe climbing possibility when we saw that our son started to climb up everywhere. For example, he opened the drawers of his closet and climbed almost to the top. That was just too unsafe for us.
So we went to our favorite climbing center to find out what the options were. The ready-made panels that are used in climbing gyms were then too expensive for us with 300€ per m² and so we decided that we would build them ourselves.
So actually more my husband built them, because it was very difficult for me with the ankle injury. In the following I would like to show you how we built the boulder wall and what we would do differently next time.
We didn't want to attach the boulder directly to the wall, because that would have made a lot of holes. In addition, we would not have had the possibility to change the boulder and thus make the routes easier or more difficult. Even if a route becomes boring, it can be changed quickly with this. Of course, this initially involves a bit more effort.
1. measure the wall and buy wood
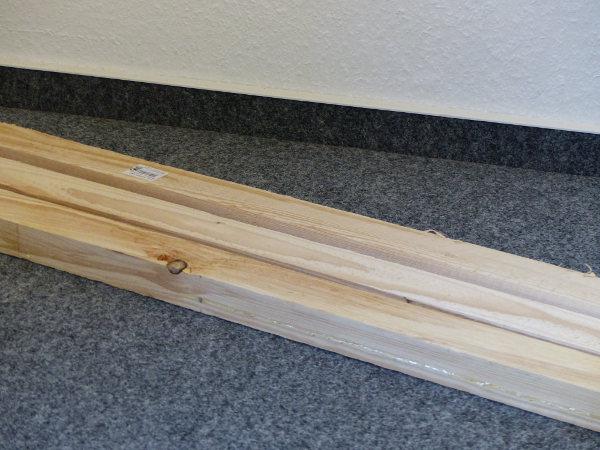
We first made a small sketch of the wall where the climbing wall was to be created. This allowed us to estimate the amount of wood and the amount of drive-in nuts and screws.
For the climbing wall, we needed the following materials: OSB boards with a thickness of 11mm, wooden slats with a thickness of 5cm, sufficiently long screws with correspondingly long dowels, wood screws and drive-in nuts (M8). These were then bought at the hardware store and partly ordered on the Internet.
In addition, of course, we needed some tools: jigsaw, drill with various drill bits, pencil for marking, spirit level, folding ruler, countersink for deepening the holes to avoid sharp edges of the screws, cordless screwdriver, hammer, Allen key to attach the boulder. Later, of course, the boulder itself, as well as mats as fall protection are needed.
2. attach battens to the wall
When the material and tools are finally complete, construction can begin. First, my husband saws the wooden slats with the jigsaw in the appropriate length. Here, attention must be paid to the front and back, because otherwise the boards will not close completely later when plugged. He used four slats for the wall. However, this depends on the height of the room.
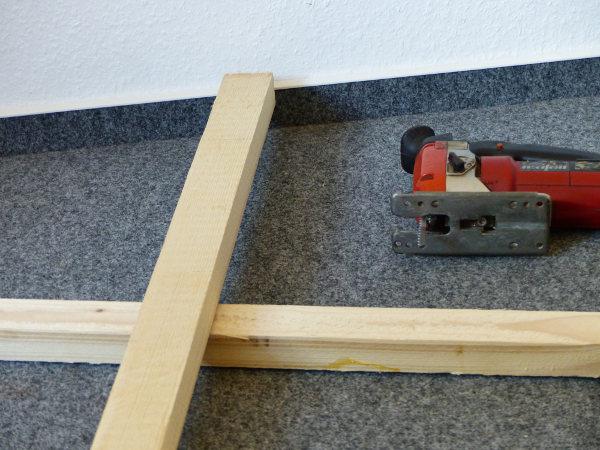
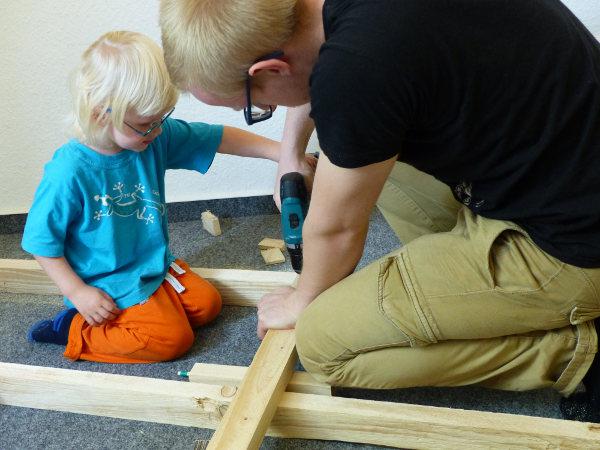
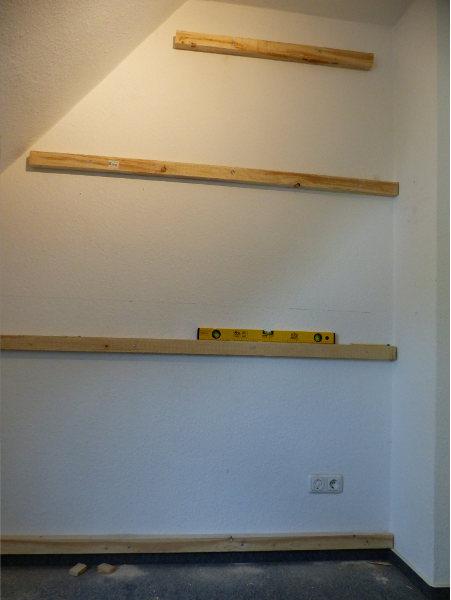
The laths are distributed on the wall and for this markings are made beforehand with a pencil. Here we used a spirit level so that the slats could be placed straight. Finally, with the drill, holes are distributed on the lath with a wood drill, the holes are also countersunk so that the screws disappear completely into the laths. Thus, later the OSB panels can be attached directly to the battens. After that, markings are transferred through these holes to the wall which are then re-drilled with the concrete drill. Dowels are inserted and the lath is fixed to the wall with long screws.
3. preparation of the OSB boards
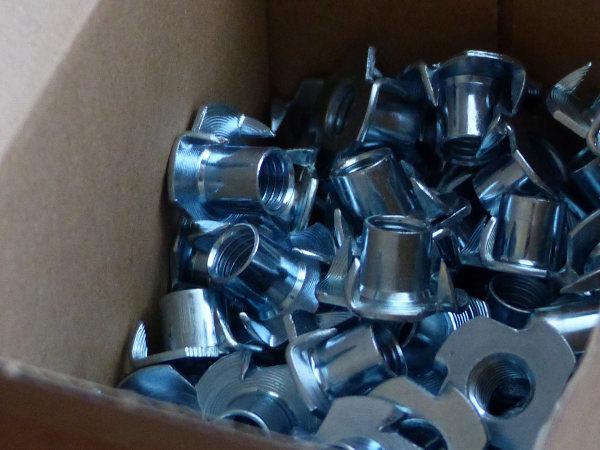
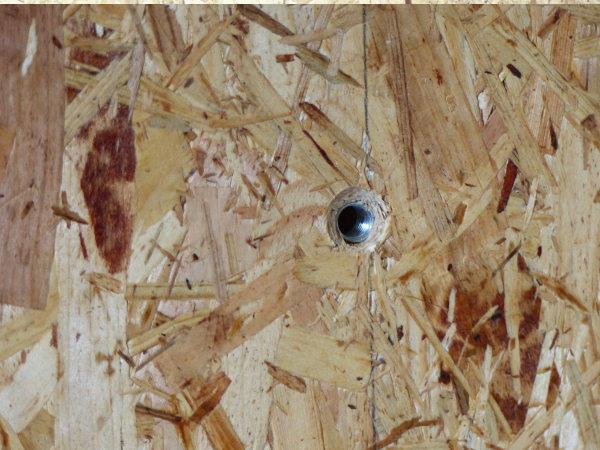
First, I need to make a plan here, how the OSB panels should be distributed on the wall. Here, several panels will probably still have to be sawn to size. When making a plan, keep in mind that the OSB boards will be tucked in, so it's best to start with half a board to get a profile that can be used at the top. If you have slopes, like we do, they will need to be measured and the panels sawed to fit. This is a bit tricky, but preparation is everything.
Once the panels are sawed to size, the holes for the drive-in nuts are pre-marked. We left 10cm of space at the edge and bottom, then marked a hole every 20cm. The best way to do this is to make a template, for example by drilling two holes in a piece of cardboard with the same spacing. The holes can also be staggered.
Afterwards, these marks are drilled through with a wood drill and slightly countersunk. The drive-in nuts are driven in with a hammer on the back side.
4. attaching the OSB panels to the wall
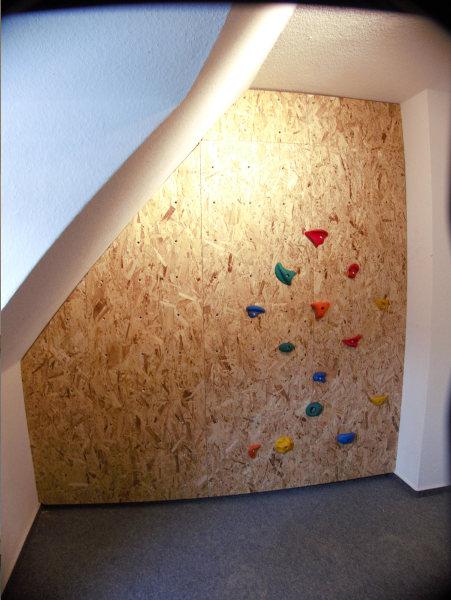
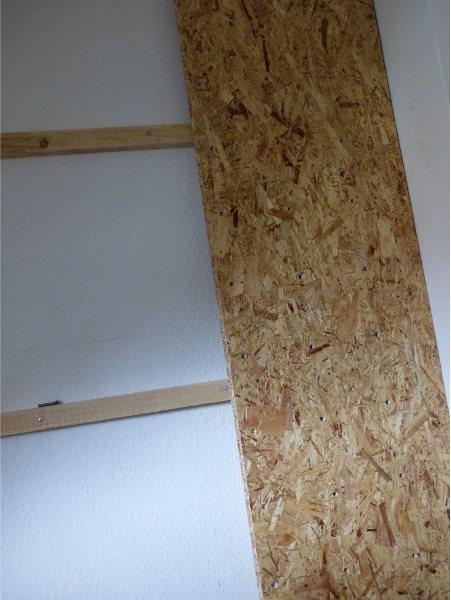
The boards are now attached to the laths using wood screws (e.g. Spax). We have distributed three screws per OSB panel on one batten. The boards are attached according to the previous plan. Attention should be paid to the front and back so that there are no gaps. Actually, however, the boards should already be sawed to size accordingly. If you wish, you can also paint or decorate the plates accordingly. 5.
5. screwing the boulder to the climbing wall
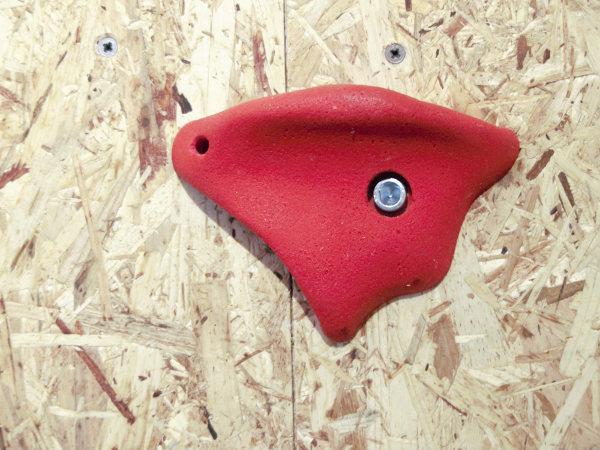
After the sawdust has been sucked away, the boulder can be attached to the wall with the appropriate screws. We used these climbing holds from Amazon, but we are not completely satisfied with them. The quality is not good, so that one of the handles already broke when screwing on. Furthermore, the material of the handles is slippery. We would therefore recommend other climbing handles, even if they initially cost more. To do this, you can best google for proffesionellen climbing grip stores or get advice from a professional in the nearest climbing gym.
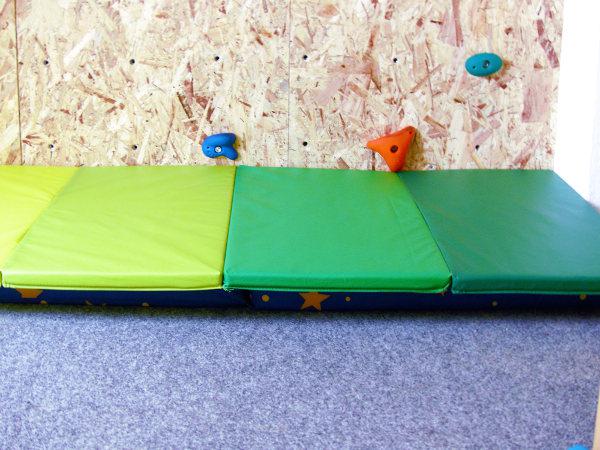
Under the climbing wall, we laid out a soft mattress and put a slightly firmer mat over it. This way, if someone falls, no one gets seriously hurt.
When bolting on, the boulder can all be secured with additional bolts so that they can't turn. When bolting the routes, we also make sure that the top holds are as secure as possible to prevent falls.
And now we wish you a lot of fun building and especially climbing!
No comments yet.