We are building a family bed! [Part 1]
Actually, we have always slept together. For a long time we slept three on 1.40m. That was not the problem. Cozy, but mostly I did not feel cramped and could sleep great.
At some point, we put a crib with 2.00 x 0.90m next to it. The additional space was hardly used. If my husband felt "crowded", he lay down there at most. But this is not how we had thought it would be. Actually, we had hoped that our son would sleep there. But there we had made the calculation without him. He did not want to give up his place.
Everything stayed as it was for the time being. When I got pregnant, we thought about how it could work and prepared our son for his "new" place. Without any pressure. But it didn't really work out that way. The small gap between the beds was filled with a tube pillow, but he just didn't want to sleep there.
At the same time, there was no other option for me that I would sleep with the baby against the wall (simply for safety). Also, I wanted to cuddle with my husband at least once in a while. So we slept four to 1.40m for a few nights after the birth of my daughter. That was then nevertheless narrow! My husband increasingly moved to the other side, so that I lay between both children.
Now my daughter is becoming more and more mobile and I have little desire for a fall out protection to all sides. So we decided to build our own deep family bed with flexibility and no space between the mattresses. We also bought new mattresses (long overdue!) so we would then have a total area of 2.00m x 2.40m. So we started planning.
Planning
Our plan, inspired by Annika and Henning, was to spread three posts on each board. Besides the side boards, we also wanted to have a board in the middle for additional support. This resulted in the following materials that we would need for the family bed: 9 posts (ideally 10cm x 10cm x 6cm), 3 boards (matching the posts, so probably 200cm x 10cm x 2cm) and slats (about 120cm x 8cm x 2cm). For the number of battens, we wanted to see what width would be available in the first place. Also for the posts and the boards, we wanted to modify our plan according to what was available at the lumber store.
We ended up buying the lumber in slightly different dimensions. The only important thing for us was that the posts and boards were flush. That was with us then 12cm in the width. In addition, it was a little higher.
Construction
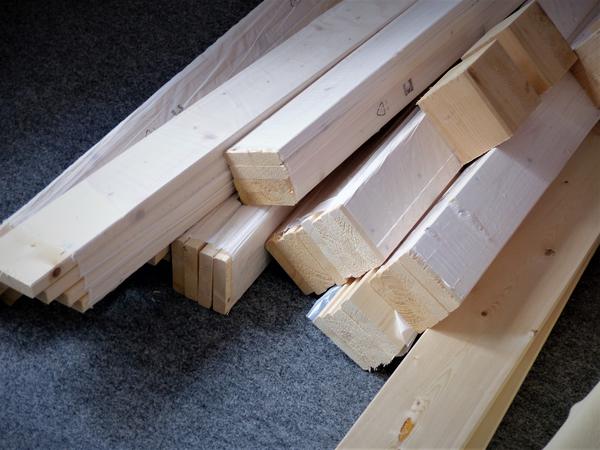
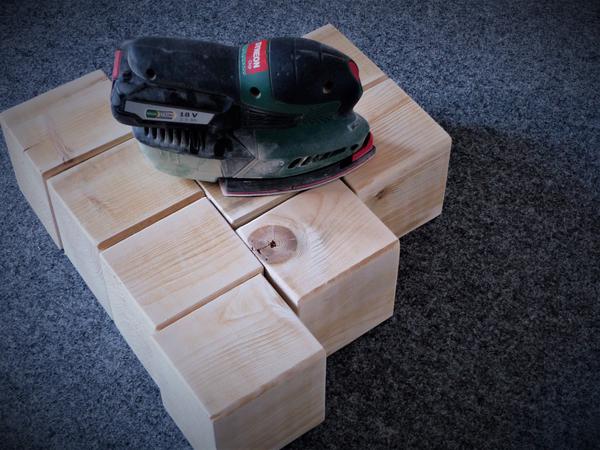
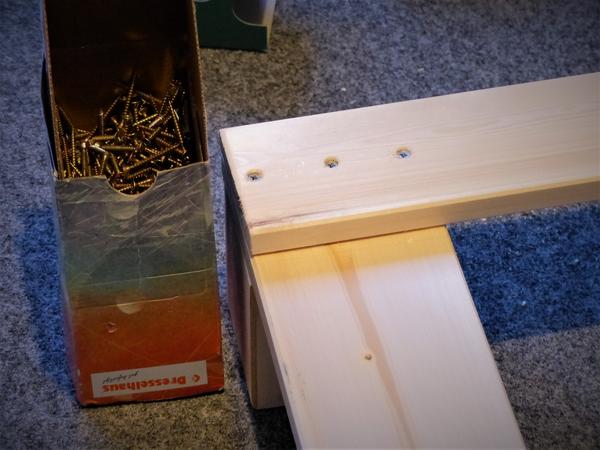
We had bought planed wood, which is smooth, so only the saw edges had to be sanded. Then we screwed the boards to the posts, making sure we had equal spacing. After pre-drilling, we used four screws each to screw, which were countersunk so that they would not interfere with further construction.
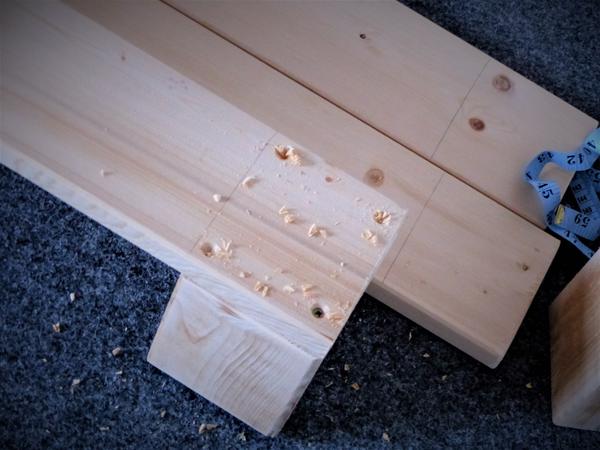
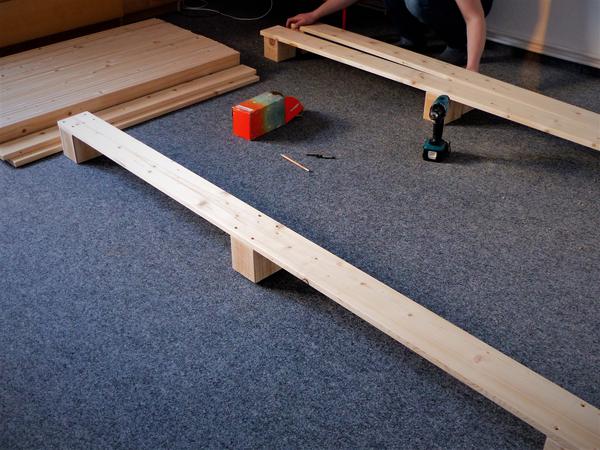
Actually, the basic framework of the bed is almost finished. Now only the slats come on it. We decided to use 13 slats on each side, distributing them evenly on the beams. And the basic framework is ready. Not so hard, is it?
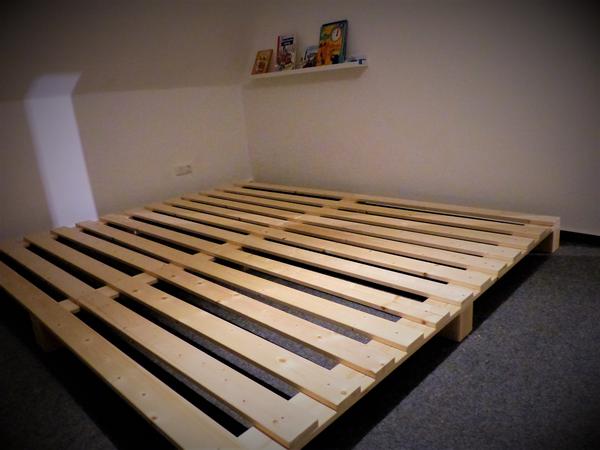
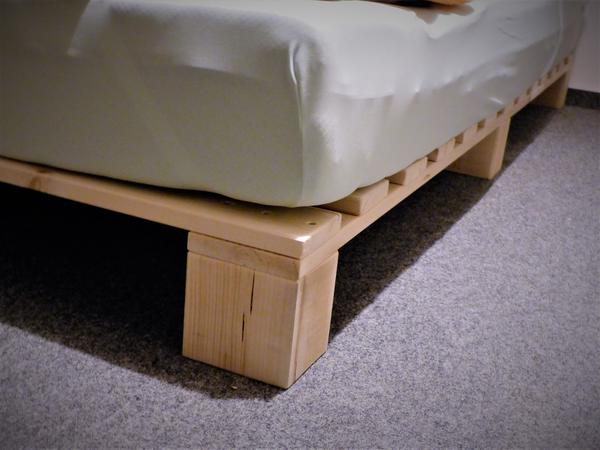
In the future, we plan to shell the bed on the sides with wide planks that go a little higher. This should keep the mattresses from sliding around and reduce the amount of dust that collects under the bed. Also, I have a headboard with soft LED light in mind, but there I still have to think a few thoughts.
No comments yet.